


How to Replace Switches On A Hot-Swappable Keyboard
In the previous days of keyboards, gamers and enthusiasts would need to buy a new keyboard or go through the hassle of soldering if they wanted to change up their typing feel and their switches. Now, this isn’t necessary anymore as Hot-swappable Mechanical Keyboards are readily available!
With a hotswap keyboard, changing switches is super easy, and super fast, so we will show you exactly how to do it.
Best of all, you can easily buy different switches to try out until you find the best for you.

How to Hotswap Switches Into Your Keyboard
What You Will Need Replace Switches In Your Hot-Swappable Keyboard
- Keycap Puller (Usually included with a hotswap keyboard)
- Switch Puller (Usually included with a hotswap keyboard)
- Replacement Switches
- Container (to store the older switches in)
Now, let's get started! To easily see how to do replace switches in a hot-swappable keyboard, check the video below.
Need More Detail? Check out this step-by-step!

1) Check your switches and your hotswap keyboard
Before we start to show you how to do this, it is important to know if your switches are 3-pin or 5-pin. While most hotswap keyboards have 5-pin sockets (which inherently supports 3-pin switches), some only have 3-pin sockets which means 5-pin switches won’t fit.
Essentially, every switch has 2 metal pins that come out of the bottom, as well as a larger round plastic “pin”. The plastic pin is the mount that helps hold the switch in place, while the metal pins are actually for the electrical connection. Any switch that is just like this, is called a “3-pin switch”. If the switch has 2 extra smaller plastic legs, then it is called a “5-pin switch”.
To overcome this, some enthusiasts cut off the extra pins (they’re not actually pins, but are plastic legs for stability), but we suggest just checking beforehand to save some time and money.

2) Remove the Keycaps with a Keycap Puller
For this step, you will need your keycap puller which usually comes included with a hotswap keyboard. This is quite easy, as all you need to do is use the keycap puller to remove the keycaps off of the switches.
When doing this, we advise to be gentle and not be too rough as to avoid damaging anything.

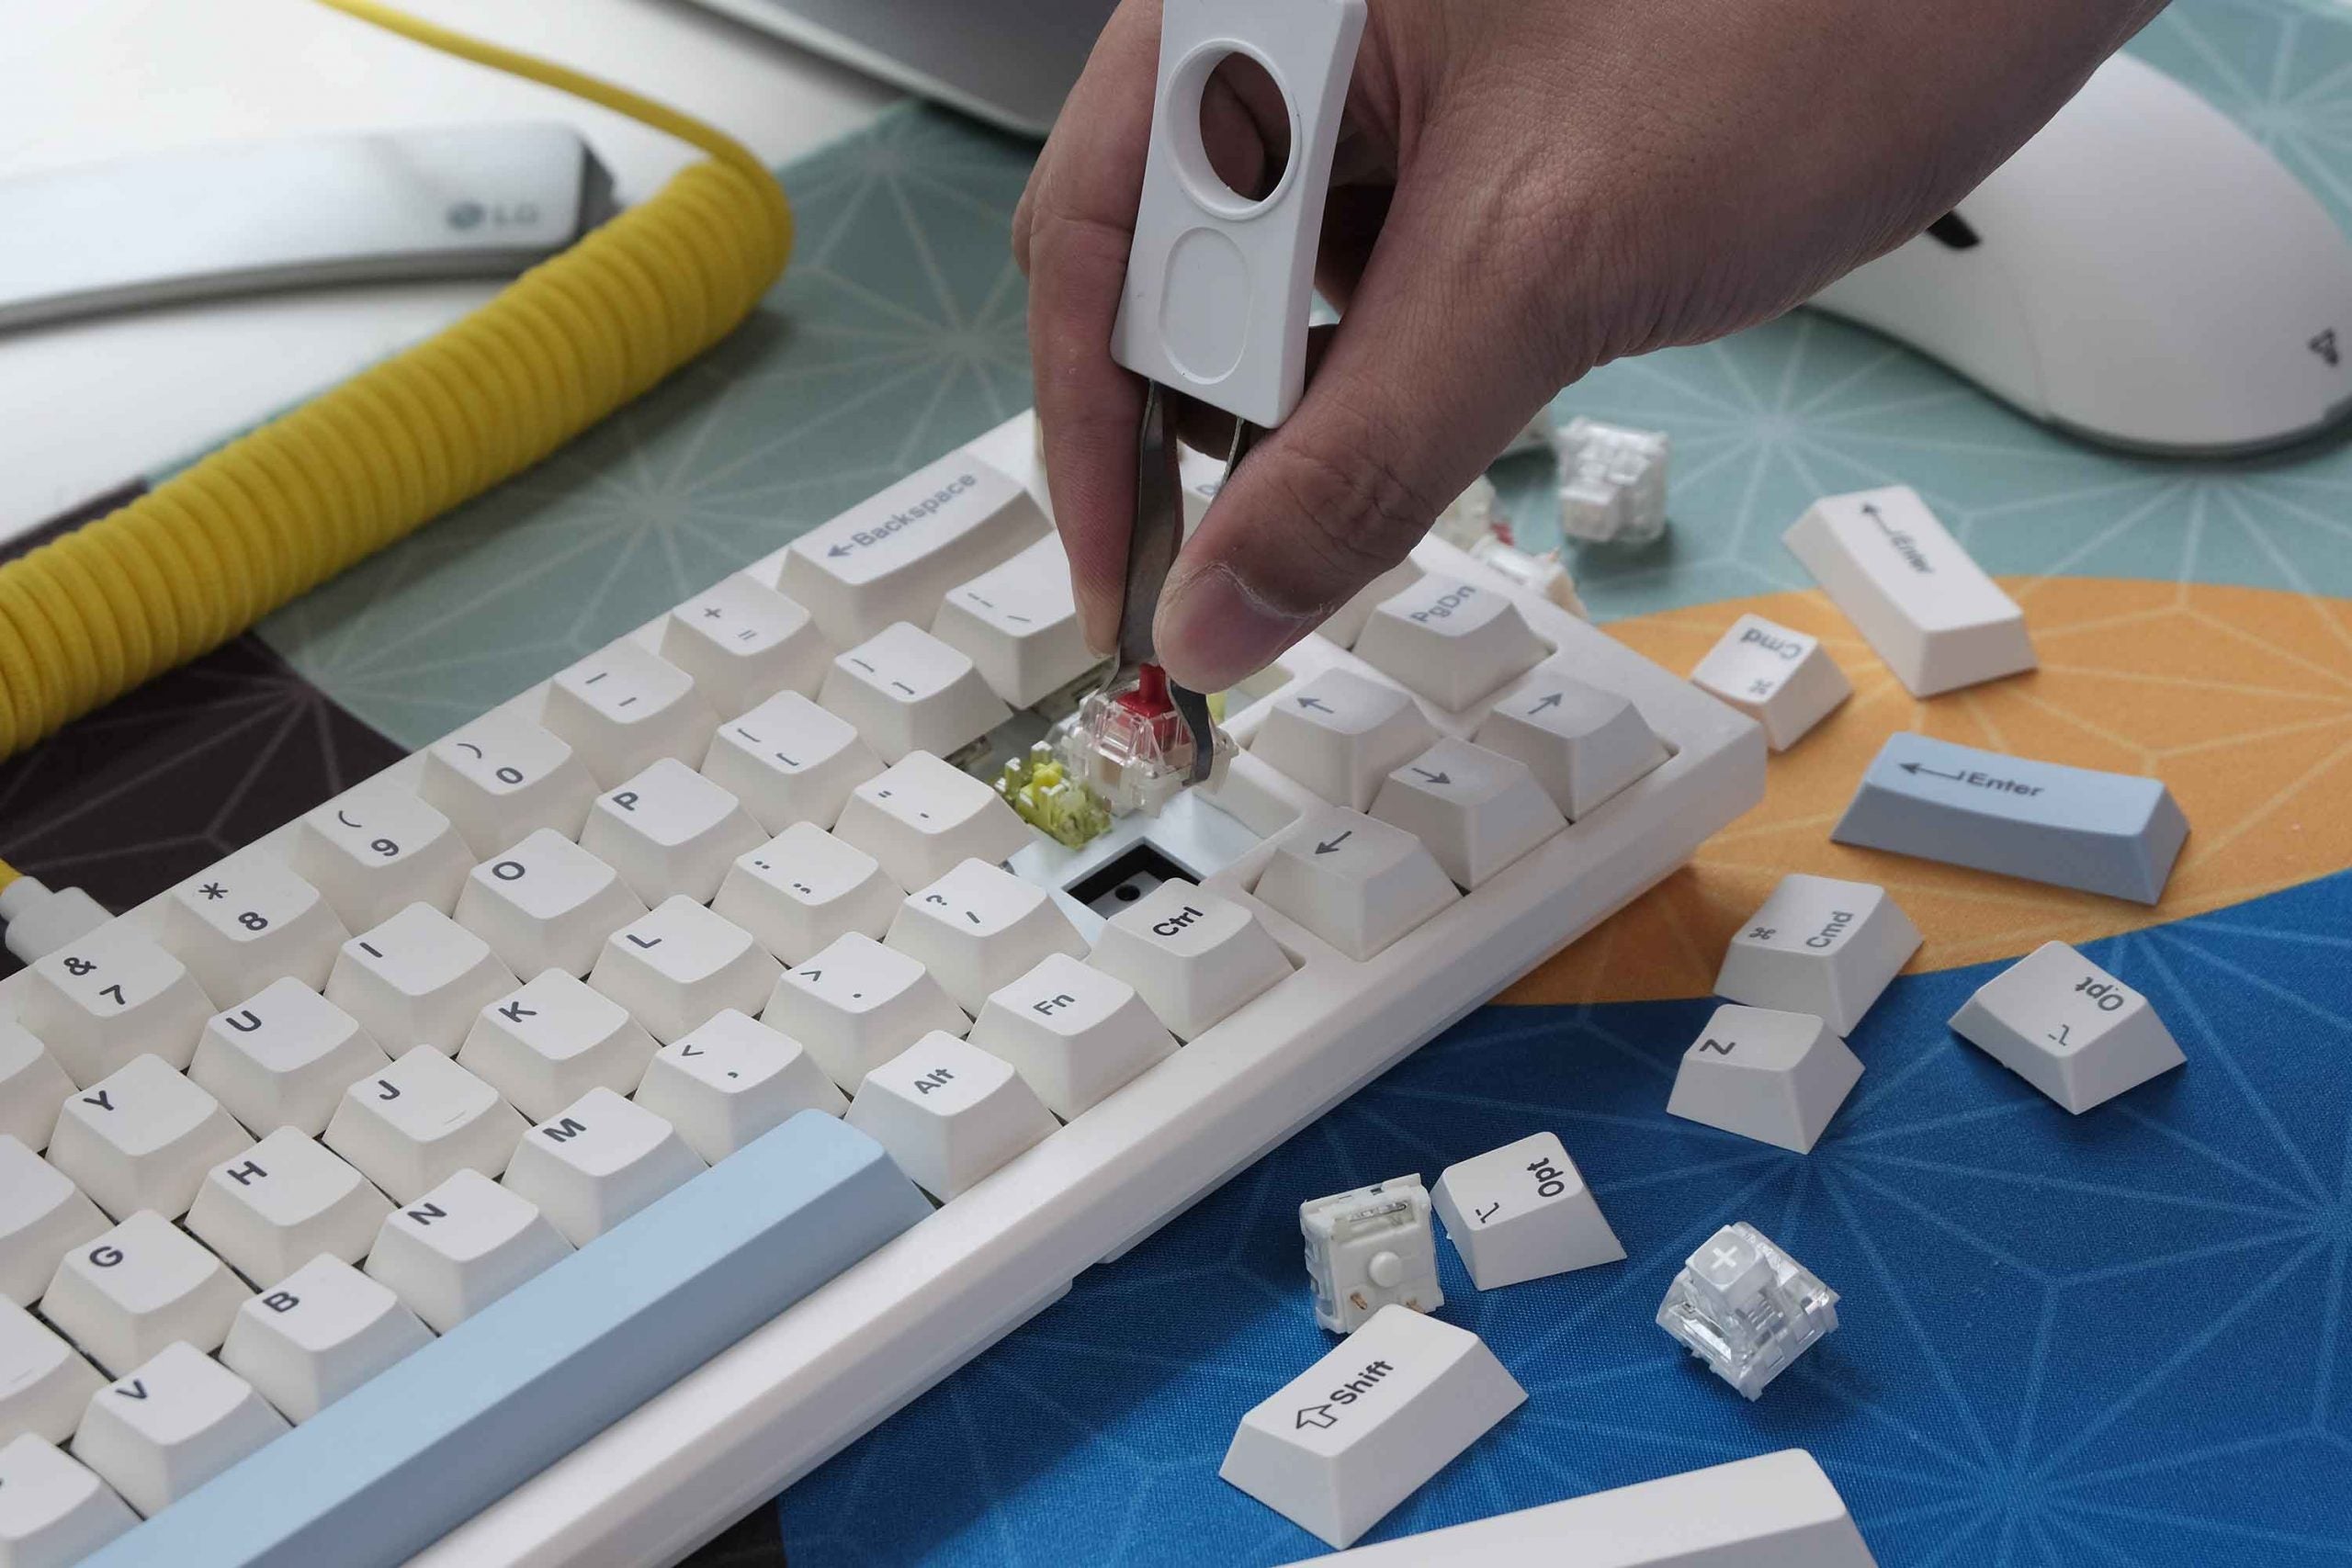
3) Remove the Included Switches With a Switch Puller
Now that you’ve removed the keycaps, take your Switch Puller and remove the switches. This may take some time as there are generally a lot of keys to do.
When doing this, there is a little technique which makes it easier. When using the switch puller, make sure the little “hooks” on the end of the prongs reach into the plastic tabs on the top and bottom sides of the switch. Next, just press down on the plastic tabs and remove the switch with the switch puller.
Just like when removing keycaps, we recommend being careful when doing this. If done too roughly, the switches or the keyboard itself may become damaged. They’re designed to be pretty rugid, so don’t overly worry. Just don’t go yanking them out like a madlad.
After doing this, put the switches into a container for future use.

4) Swap in the New Switches and Put the Keycaps Back On!
Now that you’ve removed all of the switches that were previously in the keyboard, it’s time to install the new ones. This is a pretty easy process, but it is important to be careful to avoid bending the metal pins on the switch.
To easily do this, just line up the switch pins with the socket on the keyboard, and then gently press them into place. If everything was lined up properly, the switches should easily go into the hotswap sockets without any issues. After doing this, put the keycaps on the switch again by using your fingers and pressing them gently into place.

5) Now, Test Your Keyboard!
This is the last step! You’ve done it! Now all that you need to do is test your keyboard to make sure everything is working properly. What you will want to look out for is for any keys that aren’t registering a keystroke as this will show that the switch is possibly not aligned properly or isn’t inserted all the way. If so, one of the pins may have been damaged. To fix this, you can use a pair of pliers or your fingers to gently straighten the pin again.
To test if your keyboard is working properly, we suggest using this handy free online keyboard tester.
Looking for an Award-Winning Hotswap Keyboard?
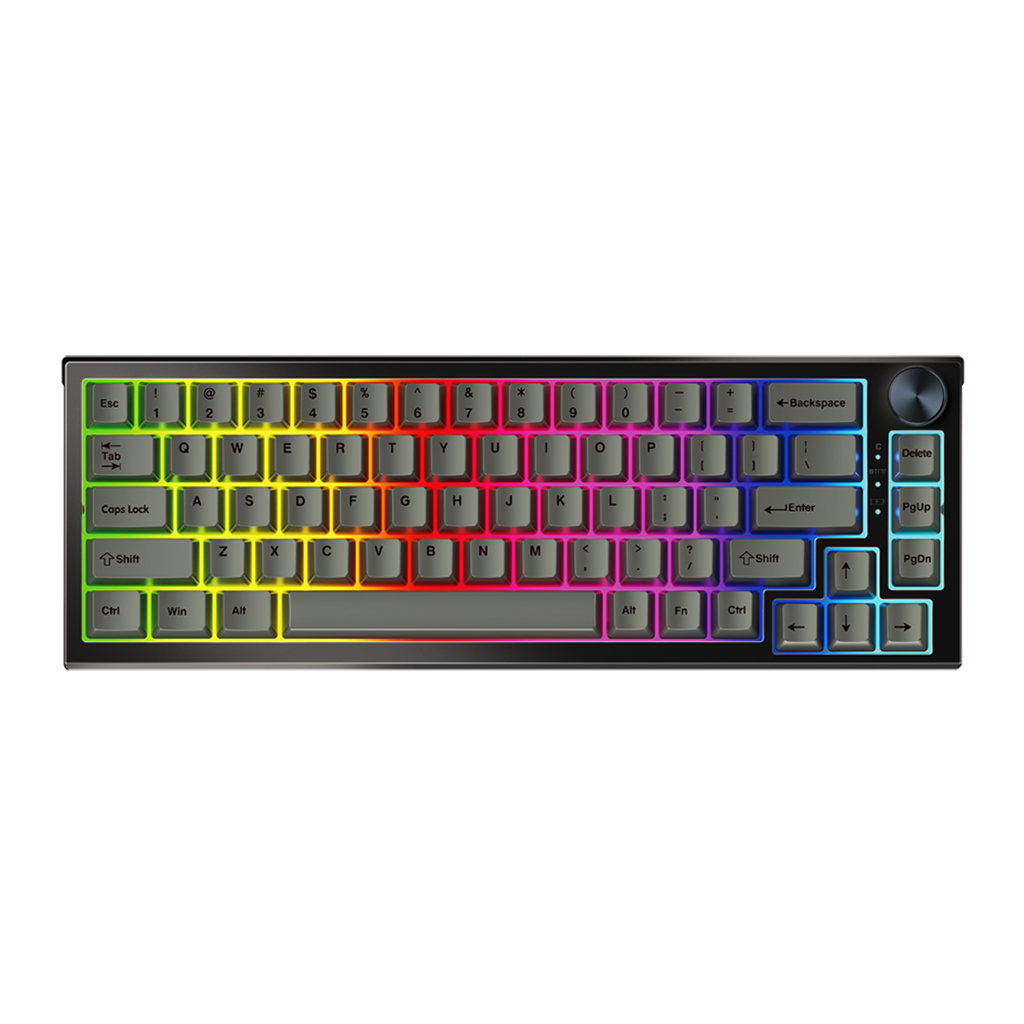
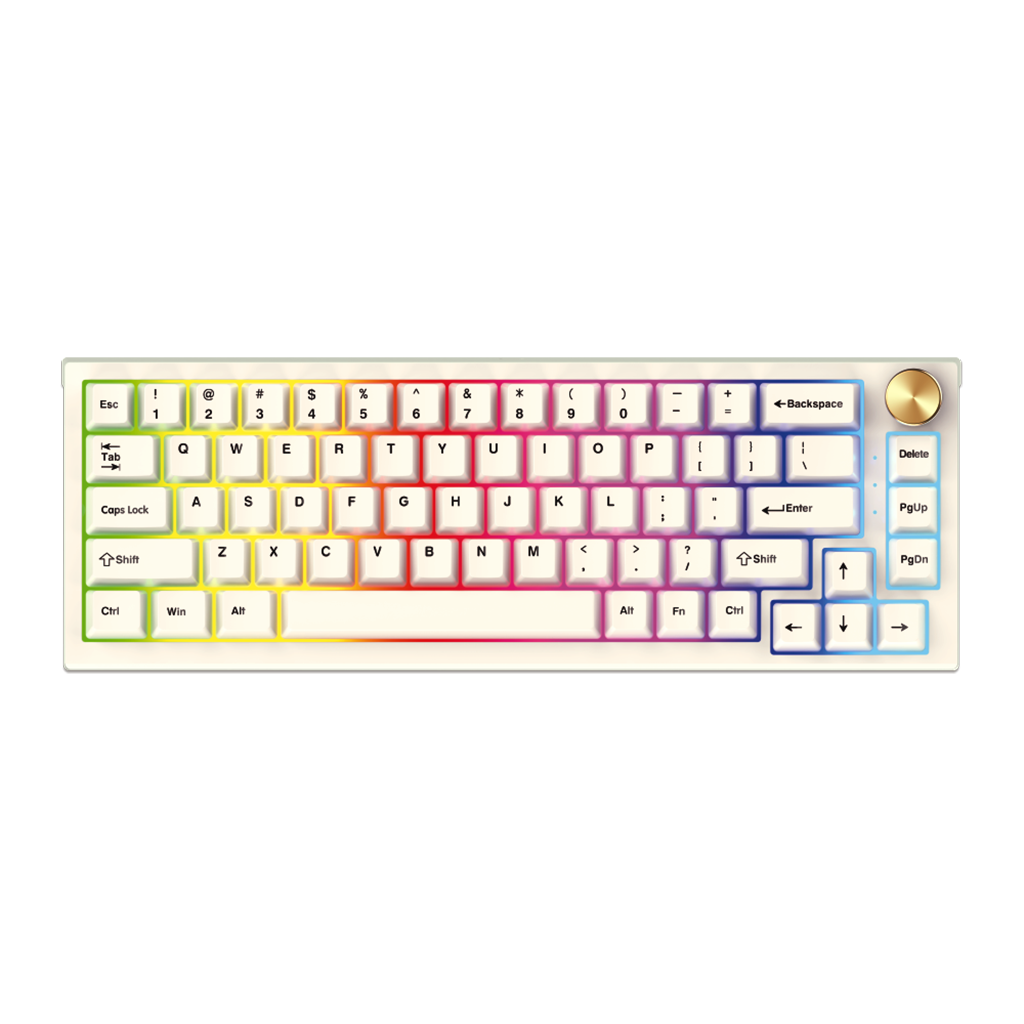
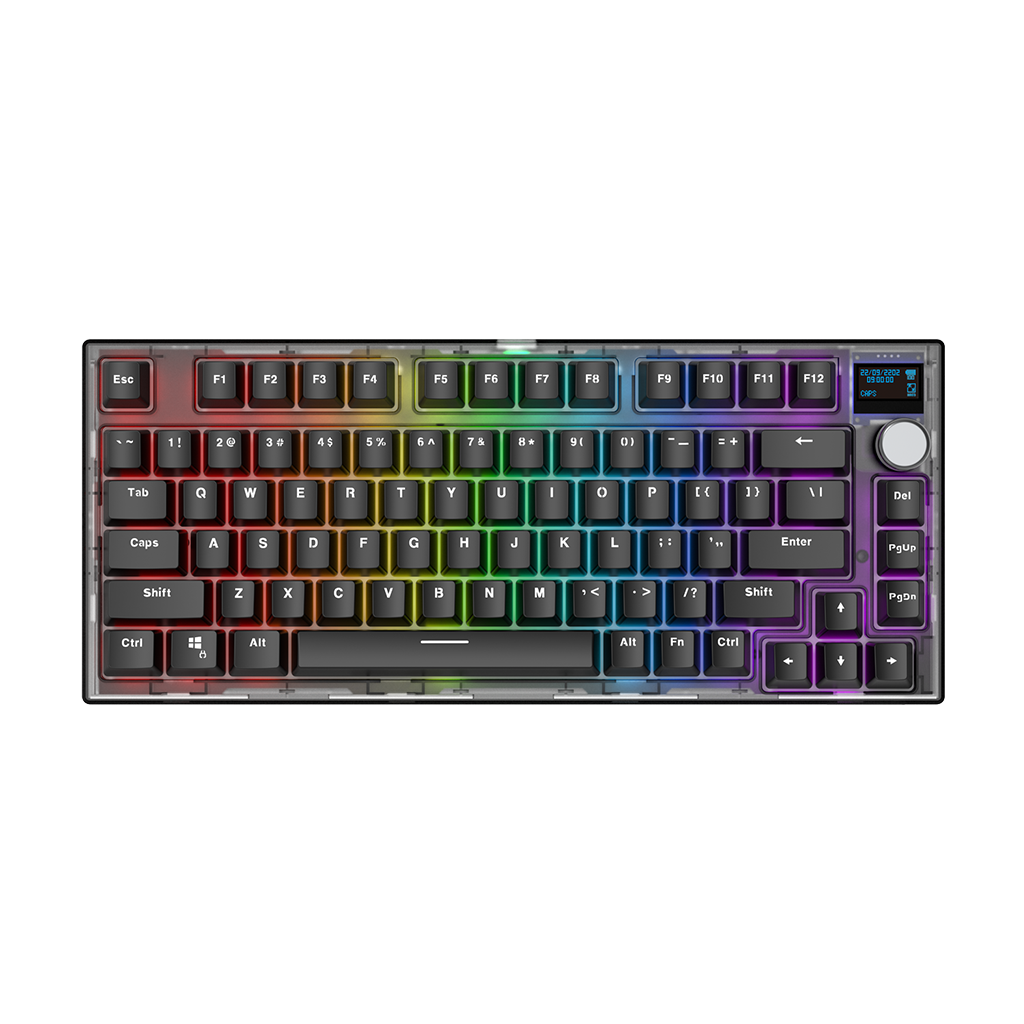
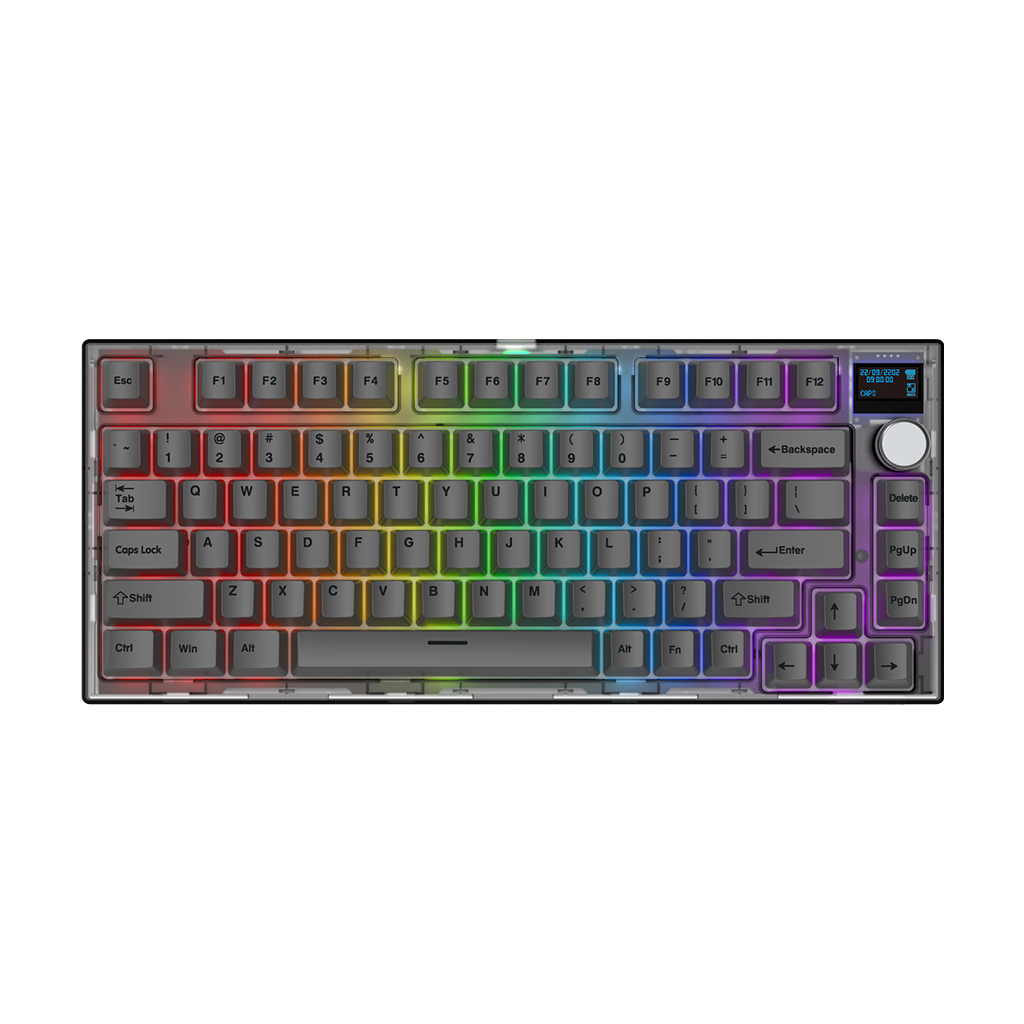
If you want to get more deep into the keyboard enthusiast community, or even try out different switches without a hassle, then it’s time to get a hotswap keyboard. Our award-winning MAXFIT67 which features PBT keycaps, hotswappable sockets and more!
Best of all, it’s been awarded the “Highly Recommended” seal of approval by TechPowerUp!
MAXFIT67
RGB MECHANICAL HOTSWAP KEYBOARD
- Highly Recommended by TechPowerUp!
- 65% Form Factor
- South Facing PCB
- Rotary Encoder Knob
- Wireless (BT + 2.4ghz) & Wired
- Gateron Hotswap Sockets
- Kailh Box White / Pre-Lubed Gateron Milky Yellow Switches
- DYE-SUB PBT Keycaps
- Includes plate foam & tray foam