How to Clean Your Gaming Headset
Your gaming headset could be one of the dirtiest computer peripherals that you have. A tough gaming session with sweaty moments, epic wins and even losses, can lead to a lot of dirt and grime being on your headset.
Don’t worry, we’ll tell you exactly how to clean your gaming headset! A really easy cleaning, can make your gaming experience a LOT more comfortable.
How to Clean Your Gaming Headset or Headphones!
What You Will Need to Clean Your Gaming Mouse
- Q-Tips
- Clean Cloth
- Mild Soapy Water
- Brush
- Alcohol Wipes
Unlike our guide on how to clean your mechanical keyboard, cleaning a mouse is a lot easier, and doesn’t use any water.
1) Use the alcohol wipes to clean the plastic parts
Take the alcohol wipes that you have and use them to gently clean the plastic parts of the headset. This will help to disinfect them and to remove any oils or grease that may be on them. Do this gently, and thoroughly. An easy way to get this done is by wiping in a circular motion.
We don’t suggest using the alcohol wipes to clean the earpads as it could potentially damage the cushion material, as most brands use various types.
2) Don’t forget the cable!
Take another alcohol wipe and fold it around the cable. Move the pad down the cable with your hand and gently squeeze it to make contact. This will help remove any dirt from your floor, desk, or even just everyday use that has accumulated on the headset cable.
3) Take your clean cloth and dip it into the soapy water
Be sure to not completely soak the cloth. If you get it too wet or it is dripping, just wring out as much of the water as you can. The cloth should be damp, not soaking wet.
Take the now damp cloth and use it to clean the earpads, headband and other parts of the headset or headphones. Do this thoroughly but gently. Try to not get any water into the speaker grill of the headset.
4) Now take an alcohol wipe and clean the microphone area
This part is pretty important as your microphone is probably the closest thing to your mouth when you wear a headset. You probably don’t want it to be too dirty.
Simply take an alcohol wipe and gently disinfect the microphone stem/arm, as well as the end of the mic, where your voice is transmitted through. The goal is to make sure that the part that is near your mouth is clean.
5) Remove the windsock/pop filter off of the mic (if it has one)
If your headset has a foam filter over the microphone, then you should definitely wash this too. Just remove it from the microphone and put it in the bowl of soapy water. Make sure to squeeze it and wring it out a few times to remove any stubborn dirt.
As this process involves water, just be extremely sure the windsock is dry before placing it around the microphone again. If you’re unsure, just let it air-dry for a few hours.
6) Make sure everything is clean or dry, and then get gaming!
Now, you’re pretty much done! Just make sure your headset and its accessories are completely clean and dry. Once you’re sure of that, connect it to your computer again and get gaming!
Looking for a great gaming headset or need some help?
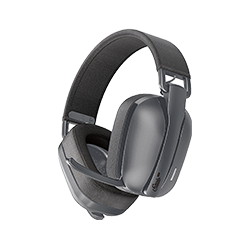
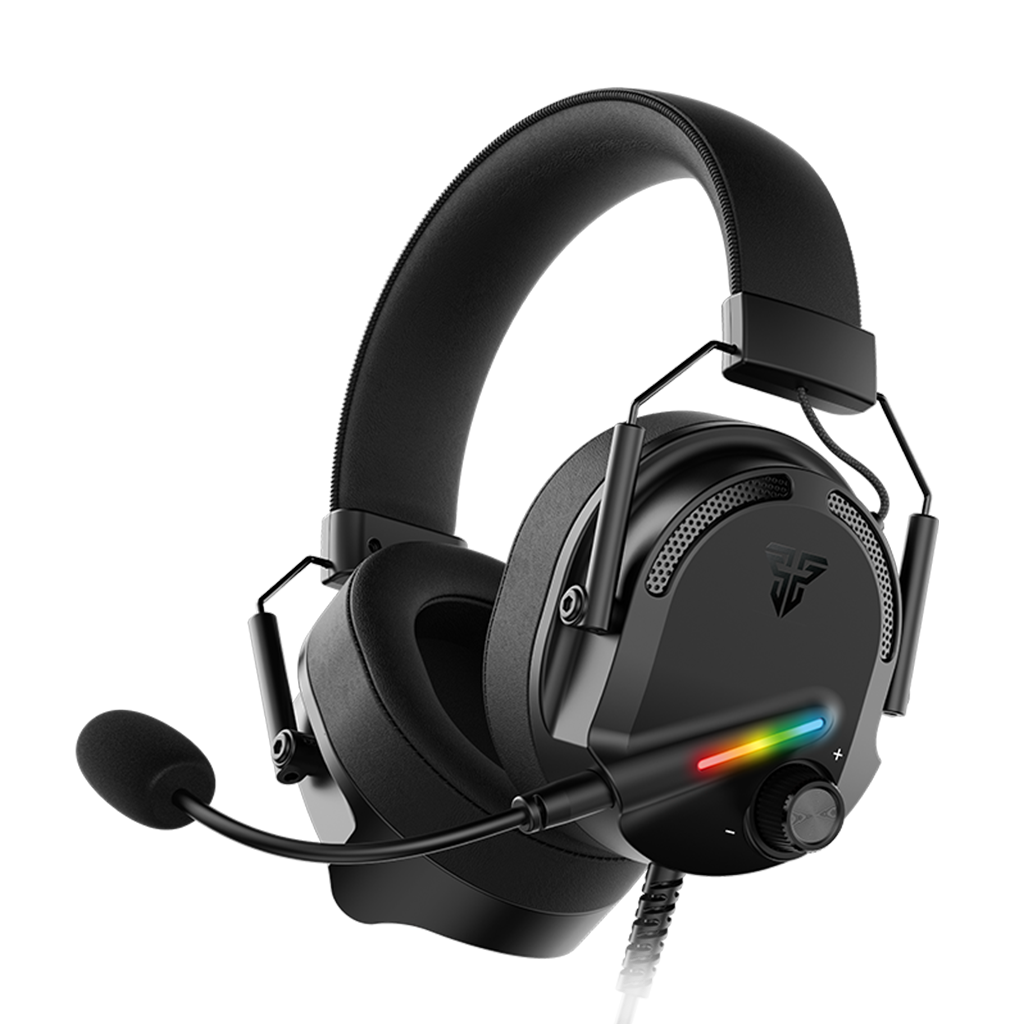
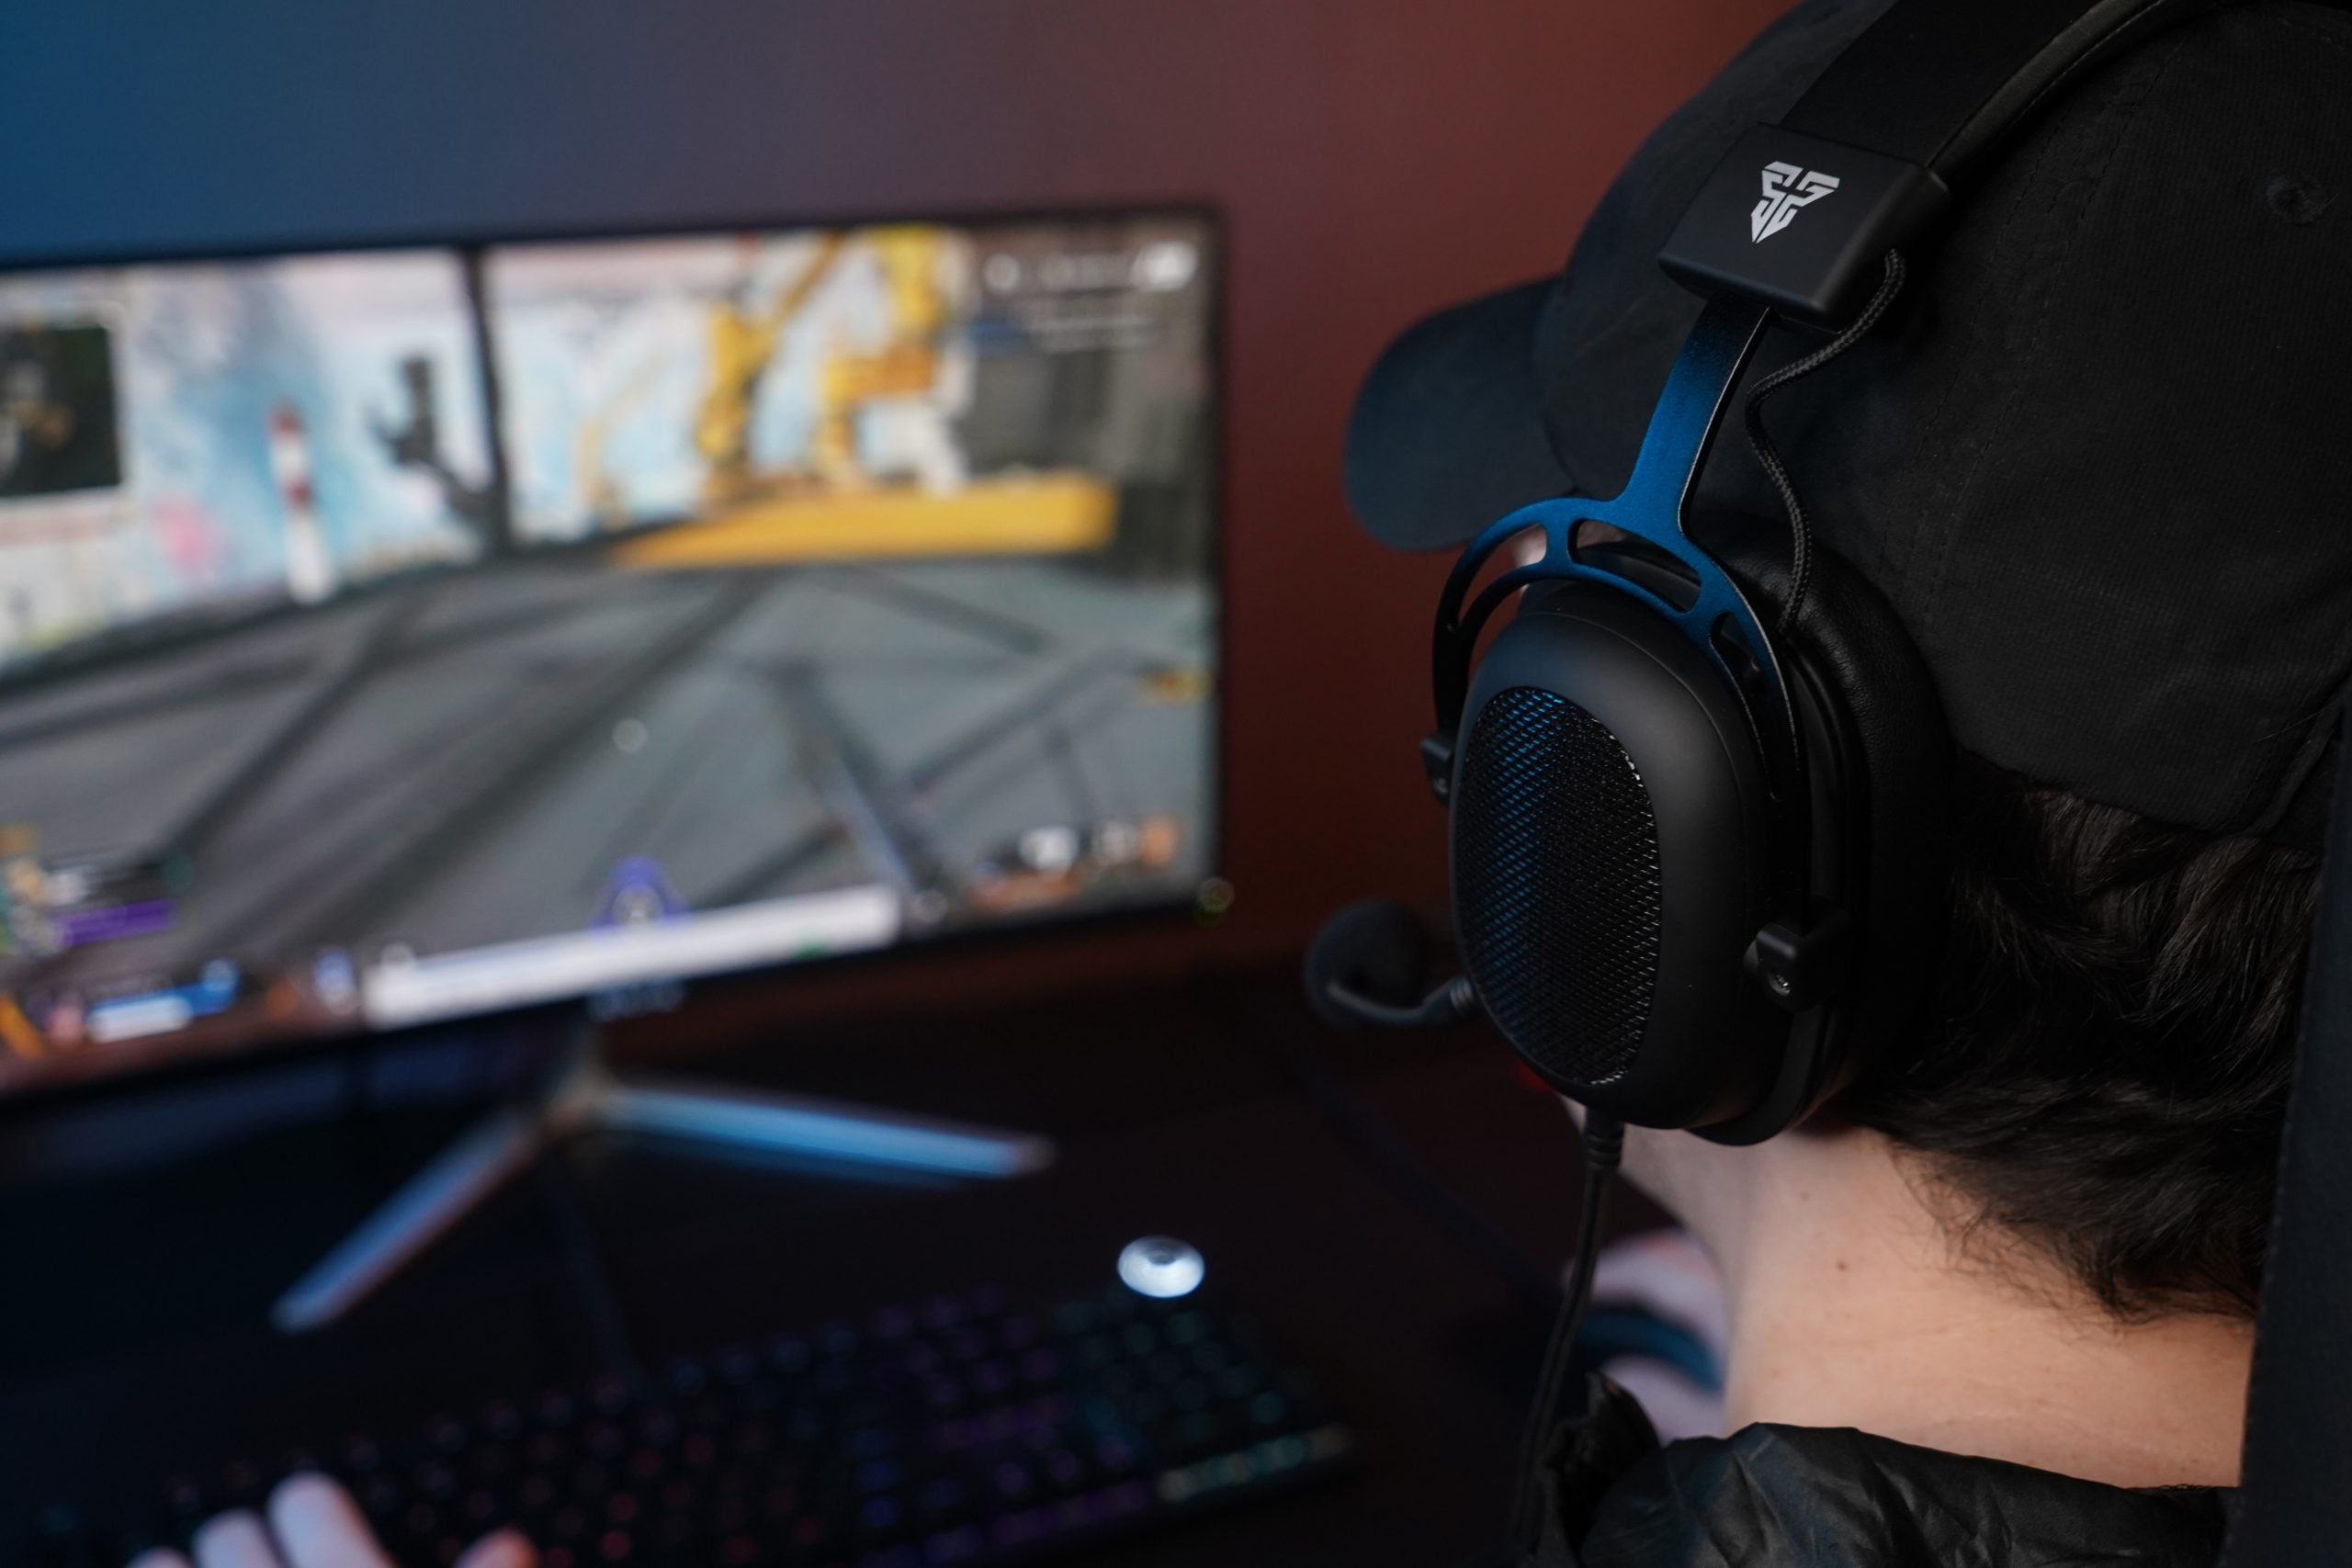
If you’re looking to buy a new gaming mouse, feel free to check out our Fantech MH90 below! Our MH90 features high-end drivers, extreme cushioning, and is designed with a harman-inspired frequency curve for truly amazing audio!
If you need some extra help when cleaning your headset, feel free to reach out to us at our support portal!
SONATA MH90
MULTI PLATFORM GAMING HEADSET
- Speaker Driver: 53mm
- Memory Foam
- Detachable Microphone
- Lightweight & Durable
- Multi-Platform Compatibility
- Adjustable Earcup
- Adjustable Headband
